 |
 |
|
|
| Accueil Technopédagogie / Professeurs / Applications pédagogiques / Tutoriel: WSS  CREATION OF SUB-SITES IN WSS CREATION OF SUB-SITES IN WSSClick on the button ''Site Actions'' on the top right of the home page, and from the drop-down menu click on ''Create''. 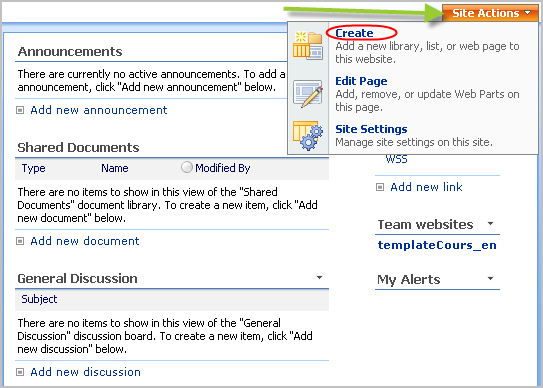 Click on "Sites and Workspaces" under the menu ''Web Pages''. 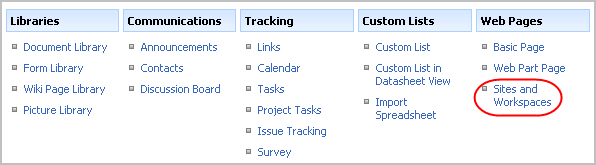 Choose a title that describes well the activities of the team that will use the site (e.g. the name of the project). It is also helpful to provide a brief description so that users can understand easily the activities that are taking place on the site. As for the address of the site, we recommend that you choose the title of the site. Avoid accents, hyphens, spaces, or any special characters.  You can choose between, English, French, or Spanish for the language of the site. For the template, select the ''Custom'' tab and click on ''HEC - Team website. As it is a sub-site, you probably wish to give access to only a group of students or to give different permissions to users (e.g. give a highler level of permissions to students on their team site than on the course site). By choosing "Use unique permissions", you can redefine the permissions given to users. If you choose "Use same permissions as parent site" all the permissions granted on the original site will be carried over to the sub-site.  This interface allows you to choose the location where would you like the link towards the new site to be displayed on the original site. The icons beside each option allow to visualize the exact location for each possibility. Once you have made your choices, click on the button ''Create''. 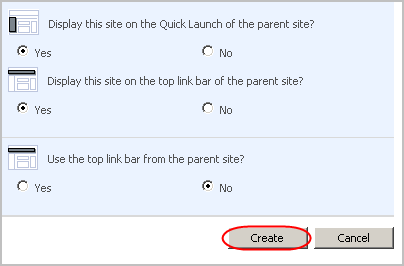 On this interface, you can set the permissions of the users. However, if you would rather wait with that task, you can do that later on also. In that case, click on the button ''OK'' and the site will be created. 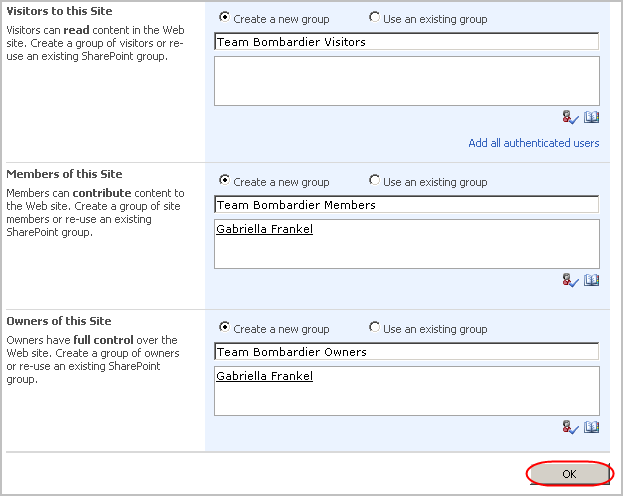 ACCESS SUB-SITES ACCESS SUB-SITES This section of the tutorial provides the steps to follow to access a sub-site once it has been created. All sub-sites are automatically displayed in the section "Team websites" on the home page. Click on the name of the site in order to access it. The sub-sites may also be displayed on the Quick Launch Bar under the heading ''Sites'' on the left of the page and/or on the tabs on the top of the home page. 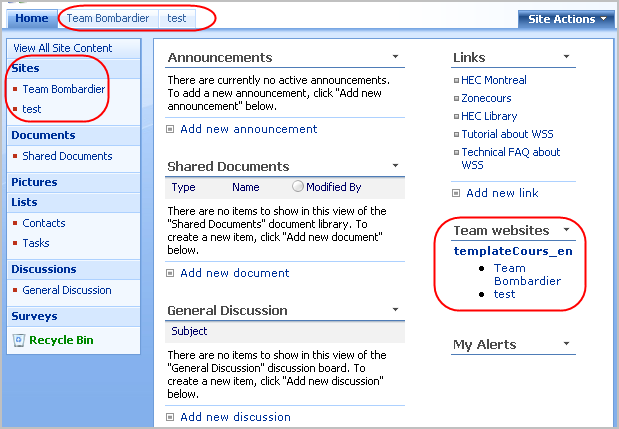 ACCESS THE ORIGINAL SITE FROM A SUB-SITE ACCESS THE ORIGINAL SITE FROM A SUB-SITE Return to the original site by clicking on the breadcrumb trail on top of the home page.  Section 3: Managing a WSS Site |
|
|
|||
|
Dernière mise à jour : 17
août
2006
Technopédagogie, gti.techno@hec.ca © HEC Montréal, 2006. Tous droits réservés. |
HEC
Montréal |
||