 |
 |
|
|
| Accueil Technopédagogie / Professeurs / Applications pédagogiques / Tutoriel: WSS  INSERT AN IMAGE INSIDE A BLOG ENTRY INSERT AN IMAGE INSIDE A BLOG ENTRY UPLOAD AN IMAGE INSIDE A LIBRARY Click on ''Photos'' under the heading ''Links'' on the bar on the left. 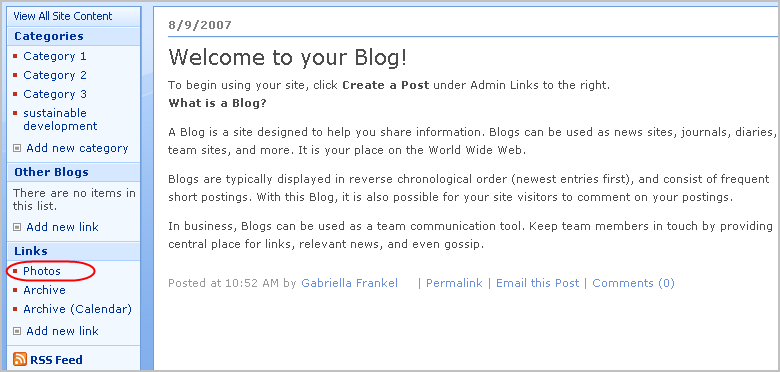 Click on ''Upload''.  Select the image on your computer by browsing with the button ''Parcourir''. 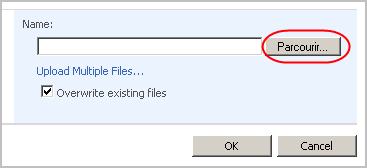 In this interface, you can modify the properties of the image that you just added. To save the image as it is, click on the button ''OK''. 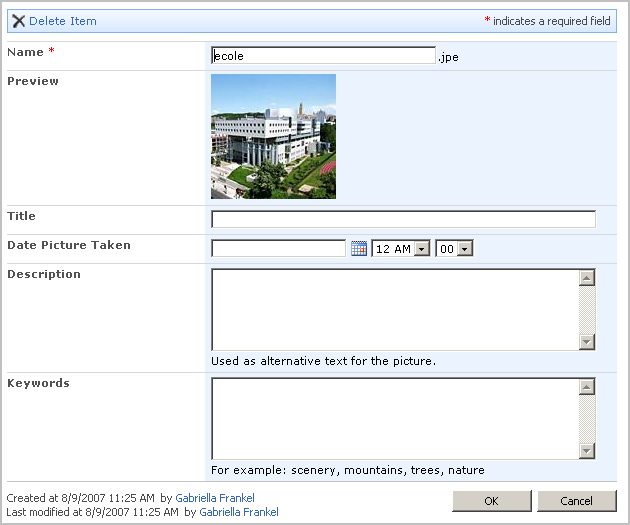 ACCESS AN IMAGE IN A DOCUMENT LIBRARY Click on ''Photos'' under the heading ''Links'' on the bar on the left. All the uploaded images are now displayed. Click on the image that you would like to insert in the entry. 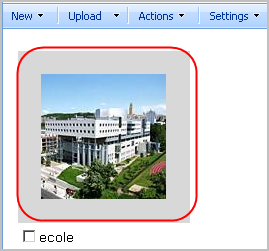 Click on the preview of the image. 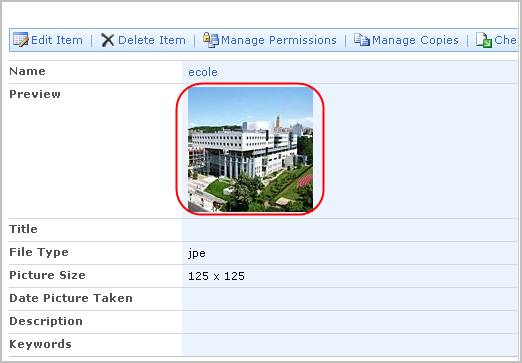 Copy the URL of the image.  INSERT AN IMAGE INSIDE AN ENTRY Click on the link ''Create a post'' on the right of the page.  Click on the icon envelop on the toolbar. 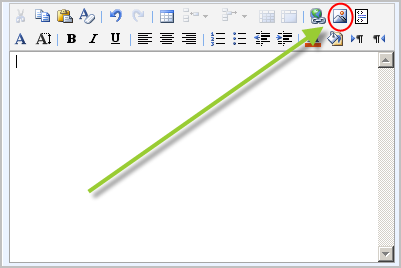 Write a brief but relevant description (in a few words) of the image in the box ''Alternative text''. This is important because in case the image is not displayed, the text will give users an idea of the image. In the box ''Address'', paste the URL of the image. Once it is done, click on ''OK''.  The image is now inserted inside the entry. 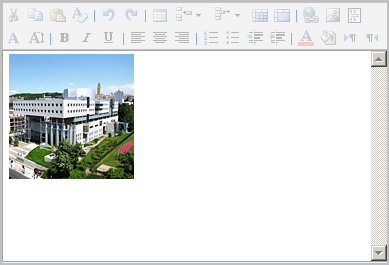 Section 1: Using a Blog in WSS |
|
|
|||
|
Dernière mise à jour : 30
juillet 2007
Technopédagogie, gti.techno@hec.ca © HEC Montréal, 2006. Tous droits réservés. |
HEC
Montréal |
||